How Easy Is It to Install a Solar Security Camera Yourself?
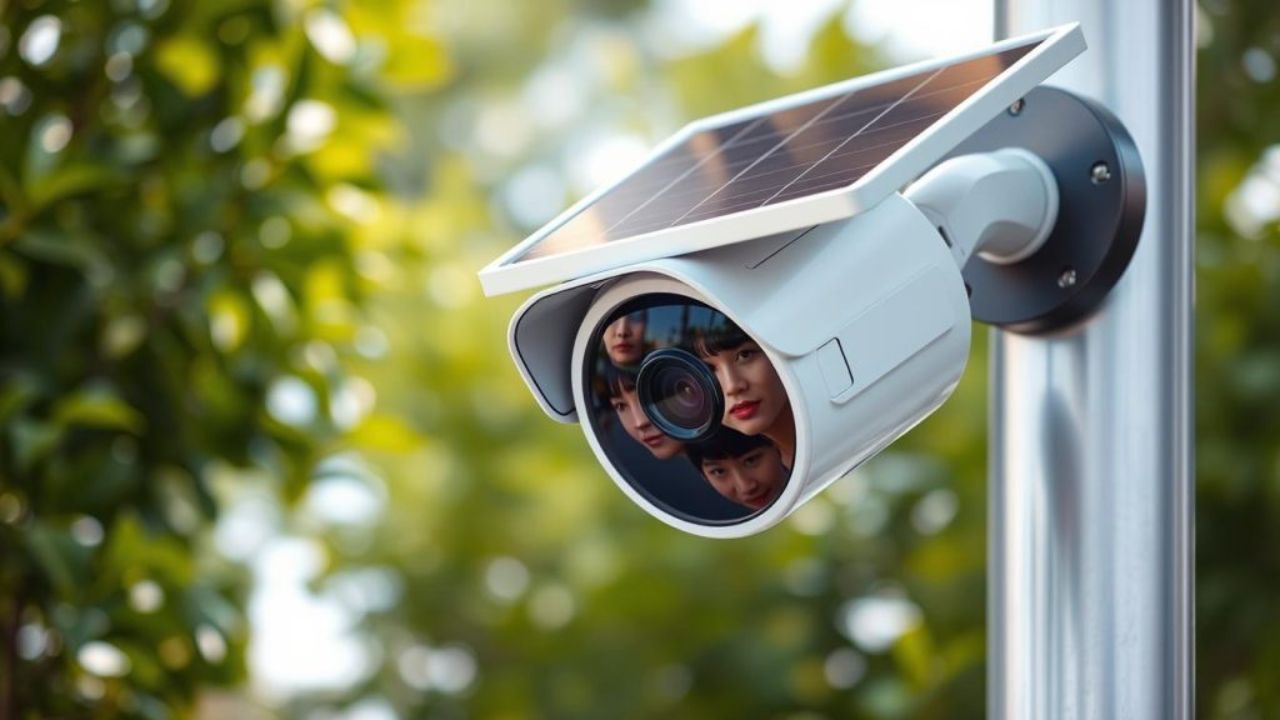
The solar security camera is becoming increasingly available to install due to the development of wireless systems of operation and energy-saving designs. The best solar security camera system, unlike traditional wired systems, should be able to operate without relying on electrical power sources, providing the user with flexibility and convenience. Although professional set-ups can still be considered, it is possible that many of the homeowners and owners of small businesses can install these cameras without any significant equipment or technical skills. The process can be understood step by step, which will point out the simplicity of self-installation and guarantee the optimal work of the cameras.
Step 1: Choosing the Right Location
The initial process in the installation of a solar security camera is the choice of the location. Best positioning guarantees the constant sun-charging and good coverage of surveillance. Areas that face the south are generally the ones that get the best sun exposure. Simultaneously, the camera view ought to give a clear view of the space under surveillance. The correct choice of location in the first place will minimize subsequent adjustments and maximize battery performance and recording efficiency.
Step 2: Preparing Mounting Surfaces
After identifying the location, it is followed by mounting surface preparation. Solar security cameras usually have mounting supports and screws, making them easy to install. Users must make sure that the walls, poles, or any other surface is well-balanced and is strong enough to bear the weight of the camera. Minor drilling could be needed in other instances, and adhesive mounts can be used to mount lightweight cameras or on a temporary basis. Preparation of the mounting surface properly makes the camera hold tight and stable, and at the right angle that is in the position to capture the sunlight, in addition to the area of sight.
Step 3: Mounting the Camera and Solar Panel
The third one is connecting the camera and the solar panel physically. The adjustable mount is a characteristic of most solar cameras, which means that a user can independently adjust the camera and panel to achieve maximum performance. The solar panel needs to be installed in areas where sunlight is maximum, and the camera needs to be set in such a way that it is able to cover the desirable surveillance area. Swivel or tilt mechanisms are also added to many designs so angles can be optimized. Aligning the camera properly is the only way of eliminating blind spots and ensuring that the camera stays constant in terms of providing energy, and is also effective during the day and night.
Step 4: Connecting Power and Components
The next thing to do is to connect the required parts with the camera and the solar panel attached. Solar cameras in the modern world tend to have plug-and-play battery systems that are automatically interconnected to the solar panel. The user should firmly attach cables and ensure that they are safely run inside his or her premises to avoid interference or damage. This could be a small thing in the case of built-in cameras with built-in batteries, but in the larger systems with external solar panels, a little change to the wiring may be required. It is significant to provide a secure connection to ensure a continuous power supply and the correct operation of cameras.
Step 5: Configuring the Camera and Network
Once the hardware is in place, it is followed by the software configuration of the camera. The majority of solar security cameras are linked to mobile applications either through Wi-Fi or 4G networks and permit the user to remotely change settings. The setup is usually just to run the camera on the local network, configure the motion detection areas, and set the recording times. There are numerous apps to enable live-streaming, immediate notification, and two-way intercourse, which give complete control over the camera system via a smartphone or tablet. This is important in order to make sure that the camera functions in a manner that satisfies the monitoring needs of the user.
Step 6: Testing and Adjustments
After installation and configuration, the system should be tested to make sure that everything is okay. Users must ensure that the camera has the necessary areas in focus, the motion detection should be sensitive, and the alerts should come as soon as possible. After taking a picture, adjustments can be made to the camera or the sun panel position, or a change in angles, or the detection parameters. Frequent testing is also a way of performance quality assurance, which also enables the users to have the opportunity of maximizing power usage as well as security coverage.
Conclusion
A solar security camera can be installed by anyone, and it is not complicated in the case of modern designs. With these steps of picking the appropriate site, surface preparation, component installation, powering, settings, testing, and maintenance, users will be able to have a good wire-free surveillance without having to install their system professionally. All these factors combined make the solar cameras an easy and efficient way of protecting homes, businesses, and remote areas by a combination of easy-to-use hardware, smart software, and renewable energy.